
Introduction: Why Your Philips Nose Trimmer Might Not Be Cutting
If your Philips nose trimmer not cutting properly, it’s usually not a motor problem. Most of the time, the blades just face extra resistance from dirt and debris that build up over time.
Inside your trimmer, natural oils, tiny hair pieces, and dried skin can get stuck in the blades. This creates a layer that slows down the blades, making trimming less effective even though the motor still sounds normal.
The good news? In most cases, this is easy to fix and doesn’t mean your trimmer is permanently damaged.
For technical reference, manufacturer servicing information may be reviewed via the official support resource:
https://www.philips.co.in/support

Quick Fix Summary
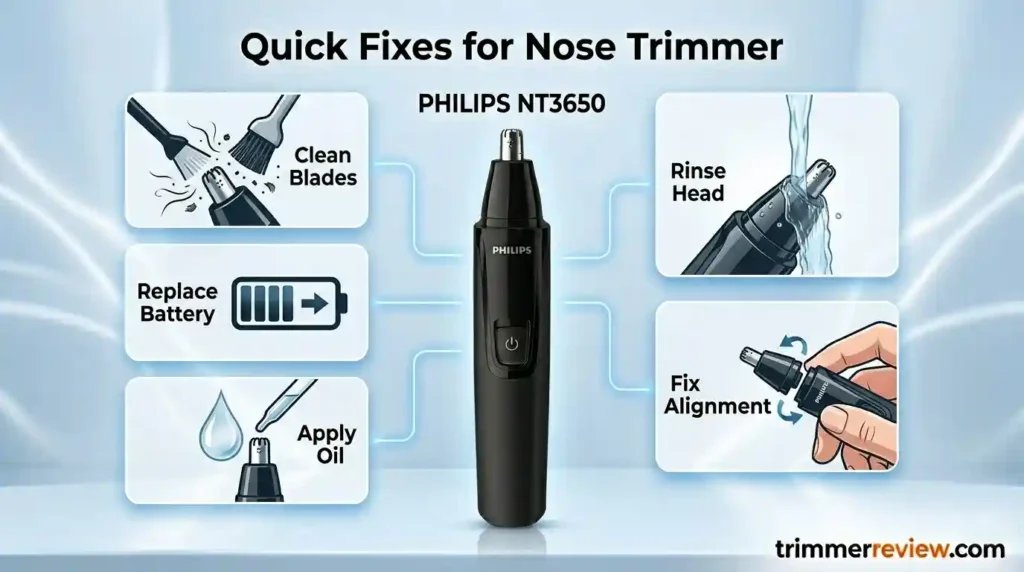
If your Philips nose trimmer isn’t trimming well, try these simple fixes:
- Clean the blades: Remove any hair or dirt from the blade guard.
- Check the battery: Replace it if it’s low or old.
- Lubricate the blades: Apply a drop of light clipper oil to keep them moving smoothly.
- Rinse after use: Wash the trimming head with water to prevent buildup.
- Realign the head: Make sure the detachable trimming head is securely in place.
These easy steps often restore your trimmer’s performance quickly and keep it working like new.
Why Your Philips Nose Trimmer Might Not Be Cutting
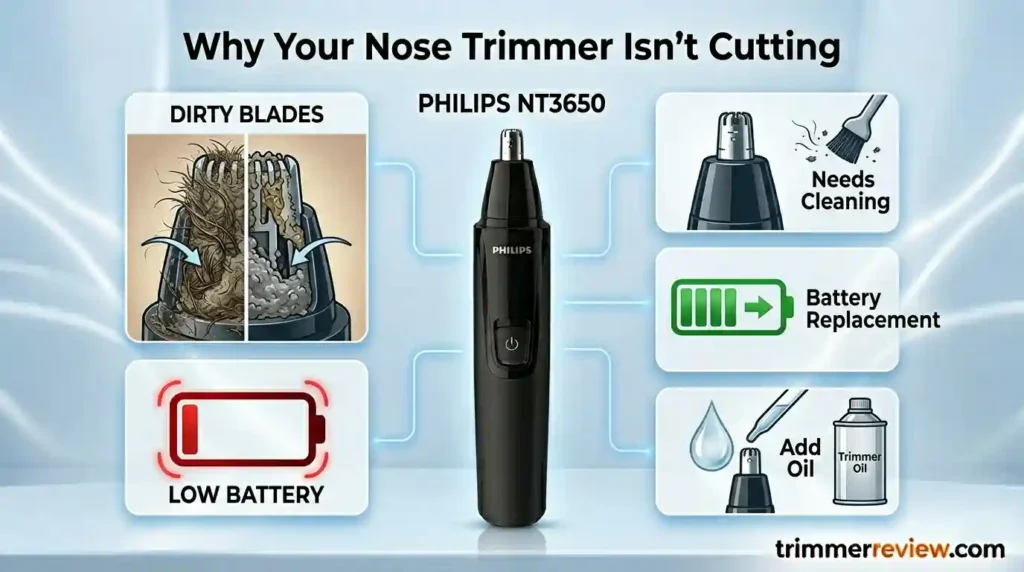
If your Philips nose trimmer isn’t trimming properly, it’s usually because dirt, hair, and dried oils have built up inside the blades. A weak or old battery can also make the blades move slower, reducing cutting performance.
Most of the time, you can fix it easily by:
- Cleaning the trimming head to remove hair and debris
- Replace the battery if it’s low
- Oiling the blades lightly to keep them moving smoothly
These simple steps usually get your trimmer cutting like new again.
Mechanical Cause Mapping
Before restoration protocols are applied, isolating the functional obstruction improves maintenance accuracy.
| Symptom | Mechanical Interpretation | Functional Impact |
|---|---|---|
| Hair pulling | Increased blade friction due to debris | Reduced shearing efficiency |
| Motor running without cutting | Internal clogging of cutting interface | Restricted blade oscillation |
| Intermittent operation | Oxidation at battery terminals | Electrical current instability |
| Visible discoloration | Moisture retention inside head assembly | Elevated corrosion risk |
These symptoms typically indicate environmental accumulation rather than electromagnetic motor failure.
How a Philips Nose Trimmer Works and Why It Stops Cutting
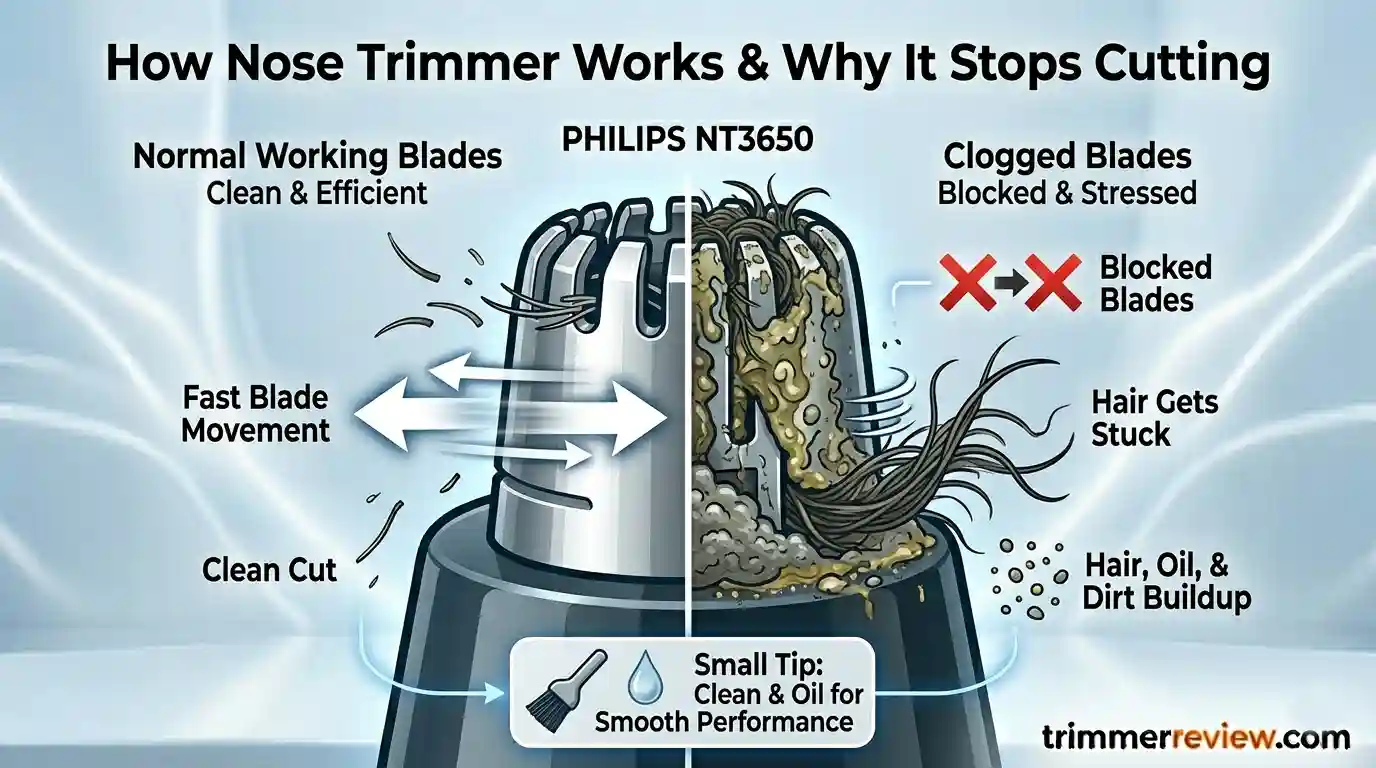
When your Philips nose trimmer isn’t cutting properly, it’s usually because the blades are slowed down by trapped hair, oils, and dirt.
The blades move back and forth quickly to trim hair, but buildup can cause:
- Slower blade movement
- Less effective trimming
- Hair is getting stuck instead of being cut
Cleaning and lightly oiling the blades helps them move smoothly again, so your trimmer cuts cleanly every time.
Step-by-Step Fixes to Get Your Philips Nose Trimmer Working Again
Structured restoration protocols simply mean following a step-by-step process to fix common problems that slow down your trimmer.
Each step focuses on one issue, like:
- Hair and dirt buildup
- Weak battery or electrical issues
- Blades rubbing too much
By following these simple maintenance steps in order, you can get your blades moving smoothly again and restore your trimmer’s cutting performance.
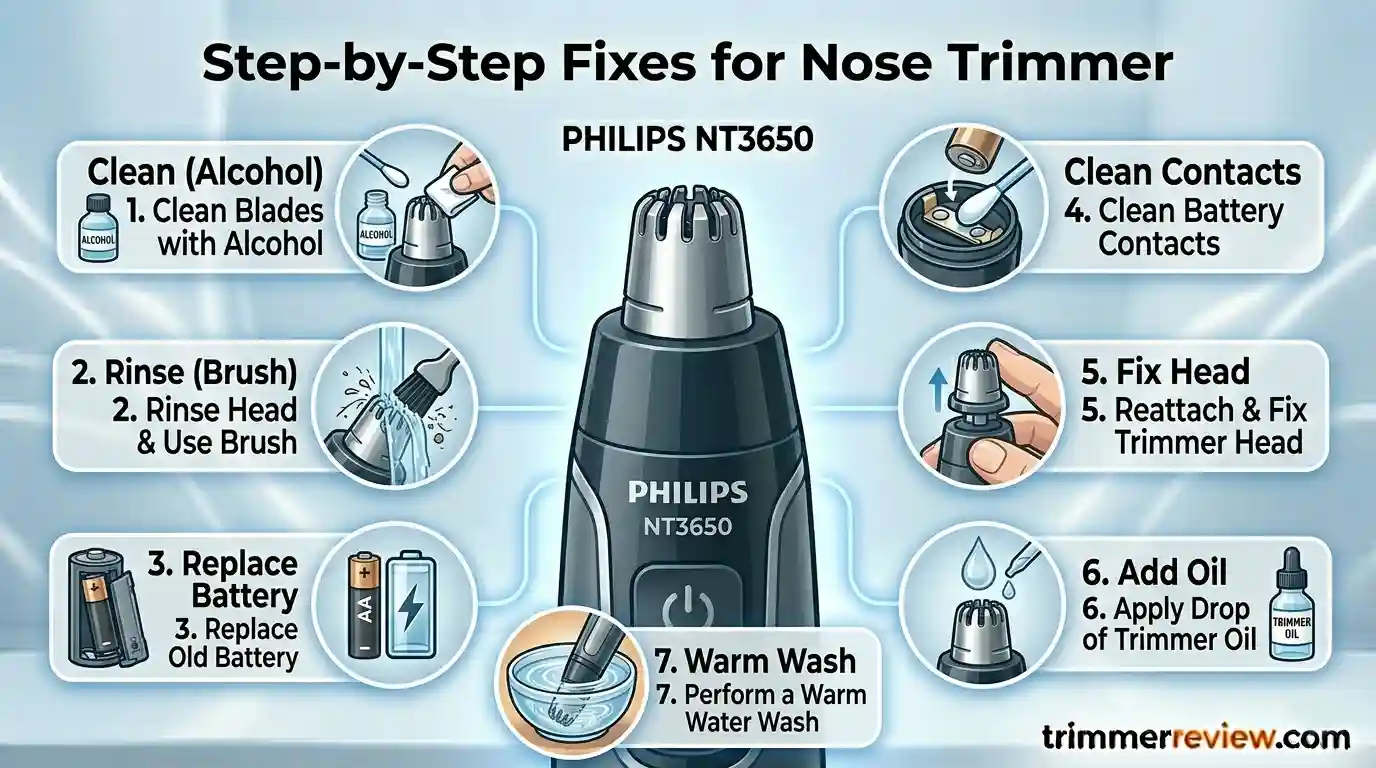
1. Clean Stubborn Dirt (Organic Layer Removal)
- Remove the trimming head and wipe it with 70% rubbing alcohol for a few minutes.
- Avoid soaking electrical parts.
- This helps dissolve oils and buildup that slow down the blades.
2. Release Stuck Hair (Vibration Cleaning)
- Run the trimming head briefly under lukewarm water while brushing the guard.
- The blade vibrations help shake loose any trapped hair or debris.
3. Check the Battery (Electrical Boost)
- Replace old or weak batteries with high-quality alkaline or NiMH batteries.
- Fresh power ensures the blades move at full speed.
4. Clean Battery Contacts
- Wipe the terminals with a dry swab to remove oxidation.
- This restores proper electrical flow and smooth blade motion.
5. Realign the Blade Head
- Remove and securely reattach the trimming head.
- Proper alignment ensures the blades cut evenly.
6. Lubricate the Blades (Reduce Friction)
- Apply one drop of light clipper oil every 2–3 months.
- Lubrication keeps the blades moving smoothly and prevents wear.
7. Soften Hard Residue (Warm Water Treatment)
- Run the trimming head in warm water (up to 40°C) for 60 seconds.
- This softens stubborn buildup so it can be removed easily.
Following these simple steps regularly keeps your trimmer cutting cleanly and extends its life.
How Your Philips Nose Trimmer Performs After Maintenance
After cleaning and removing buildup, your trimmer’s blades usually start moving smoothly again. Less resistance means the motor works efficiently, the blades cut cleanly, and the trimmer stays cool.
Regular maintenance also keeps the blades properly aligned and helps prevent the same problems from coming back, so your trimmer stays effective for longer.
| Operational Parameter | Before Maintenance | After Maintenance |
|---|---|---|
| Blade oscillation | Restricted due to debris resistance | Restored free motion |
| Cutting interaction | Tugging caused by friction | Clean shearing |
| Motor load | Elevated due to drag | Stabilized |
| Heat output | Increased from resistance | Reduced |
Preventative Maintenance Model
Recurring cases of Philips nose trimmer not cutting can be minimized through routine care.
Recommended cycle:
| Maintenance Activity | Suggested Frequency |
|---|---|
| Rinse after use | Every session |
| Alcohol cleaning | Monthly |
| Lubrication | Quarterly |
| Battery replacement | As required |
Preventative cleaning maintains mechanical efficiency and reduces resistance buildup.
Lifecycle Considerations
While restoration protocols address environmental obstruction, material fatigue remains a long-term factor.
| Restoration Benefit | Technical Limitation |
|---|---|
| Extends usability | Cannot reverse motor wear |
| Maintains hygiene | Blade fatigue persists |
| Reduces replacement frequency | Mechanical lifecycle remains finite |
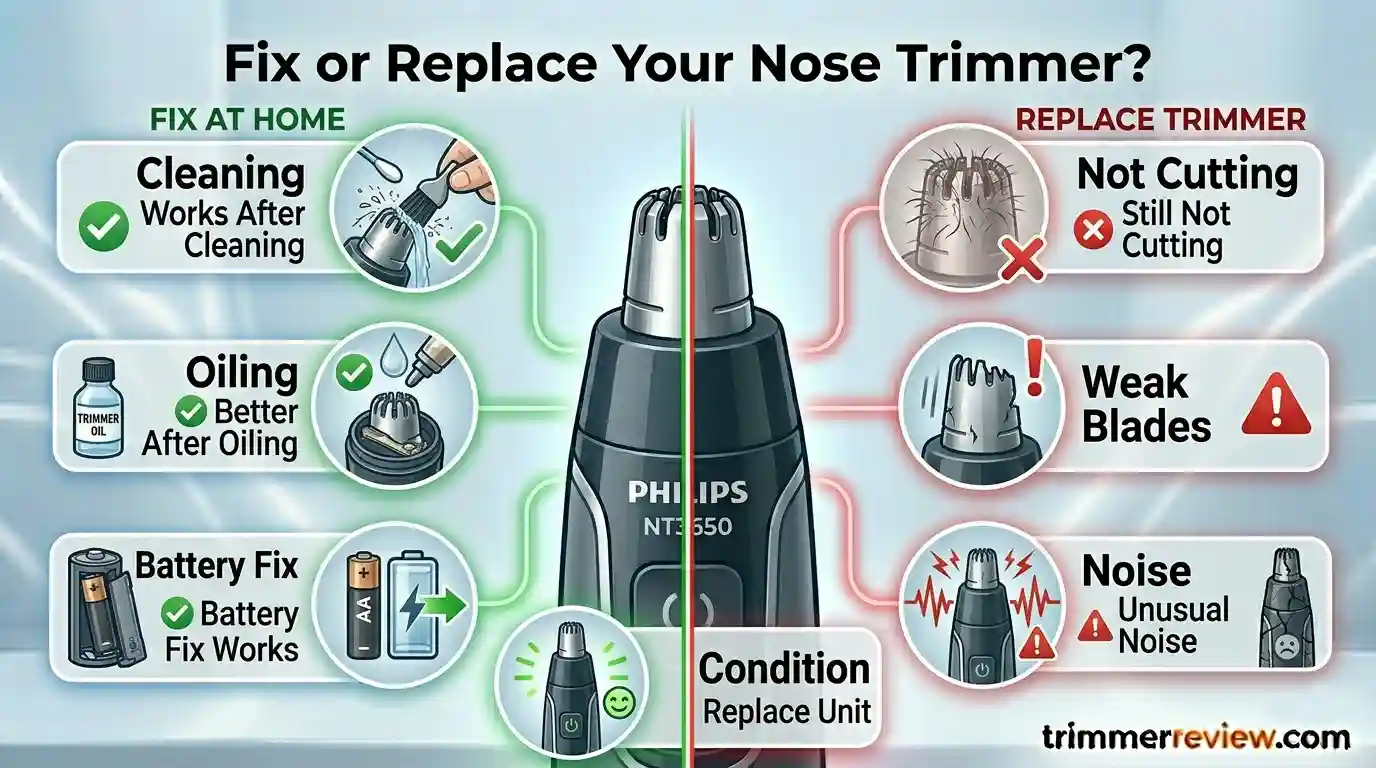
How to Tell if Your Philips Nose Trimmer Needs Repair or Replacement
Not all trimming problems mean your trimmer is broken. Here’s how to tell the difference:
Problems you can fix at home:
- The trimmer works better after cleaning
- The trimmer improves after oiling the blades
- The trimmer works normally after replacing the battery
Signs your trimmer might be worn out:
- Still doesn’t cut well even after all maintenance steps
- Blades move weakly or unevenly
- Motor makes unusual noise
Following these tips helps you know whether a quick fix will work or if it’s time to replace the trimmer.
Philips Nose Trimmer: What You Should Know
Philips nose trimmers are built to handle humid and wet grooming conditions.
However, to keep them working well over time, regular cleaning, battery checks, and blade lubrication are essential.
Final Conclusion
If your Philips nose trimmer isn’t cutting, it’s usually due to dirt, hair, and dried oils slowing down the blades—not because the motor is broken.
Most of the time, cleaning the blades, checking the battery, and lightly oiling the moving parts will restore normal performance.
If your trimmer still doesn’t cut well after these steps, the blades or internal parts may be worn out and might need replacement.
Related Guides & Expert Resources
- A comprehensive breakdown of the technical differences and performance output between the Series 3000 and 5000 models.
- An expert-verified guide on the correct usage and safety maneuvers for nose and ear trimmers.
- A long-term mechanical evaluation of the Series 3000 global model, focusing on blade durability and motor efficiency.
FAQs: Philips Nose Trimmer Not Cutting
Here are answers to common questions about Philips nose trimmers that aren’t cutting well. These tips focus on easy maintenance and everyday use to keep your trimmer working smoothly.
Why does my trimmer pull hair?
Hair pulling usually happens when dirt, hair, or dried oils slow down the blades. When the blades move slower, they can’t cut cleanly, and hair gets stuck instead.
Can I use household oils?
No. Thick oils can attract dirt and make the problem worse. Always use light clipper oil recommended for trimmers.
How do I know if the blades are permanently worn out?
If your trimmer still doesn’t cut well after cleaning, lubricating, and replacing the battery, the blades might be worn and need replacement.
Can I wash the handle or submerge it in water?
No. Keep the electrical parts dry to avoid damage. Only rinse the trimming head as instructed.
Transparency & Fact-Checking
For full transparency and product information verification details, refer to the Disclaimer & Fact-Checking Policy.