
Introduction: Why is a Nose Trimmer Necessary?
Knowing how to use a nose trimmer properly helps you stay neat and well-groomed in everyday life. Many people ignore it, but trimming nose hair is an important part of basic hygiene. In this guide, you’ll learn how to use a nose trimmer safely and easily—so you can trim hair without pain and maintain a clean, confident look without harming your nose.

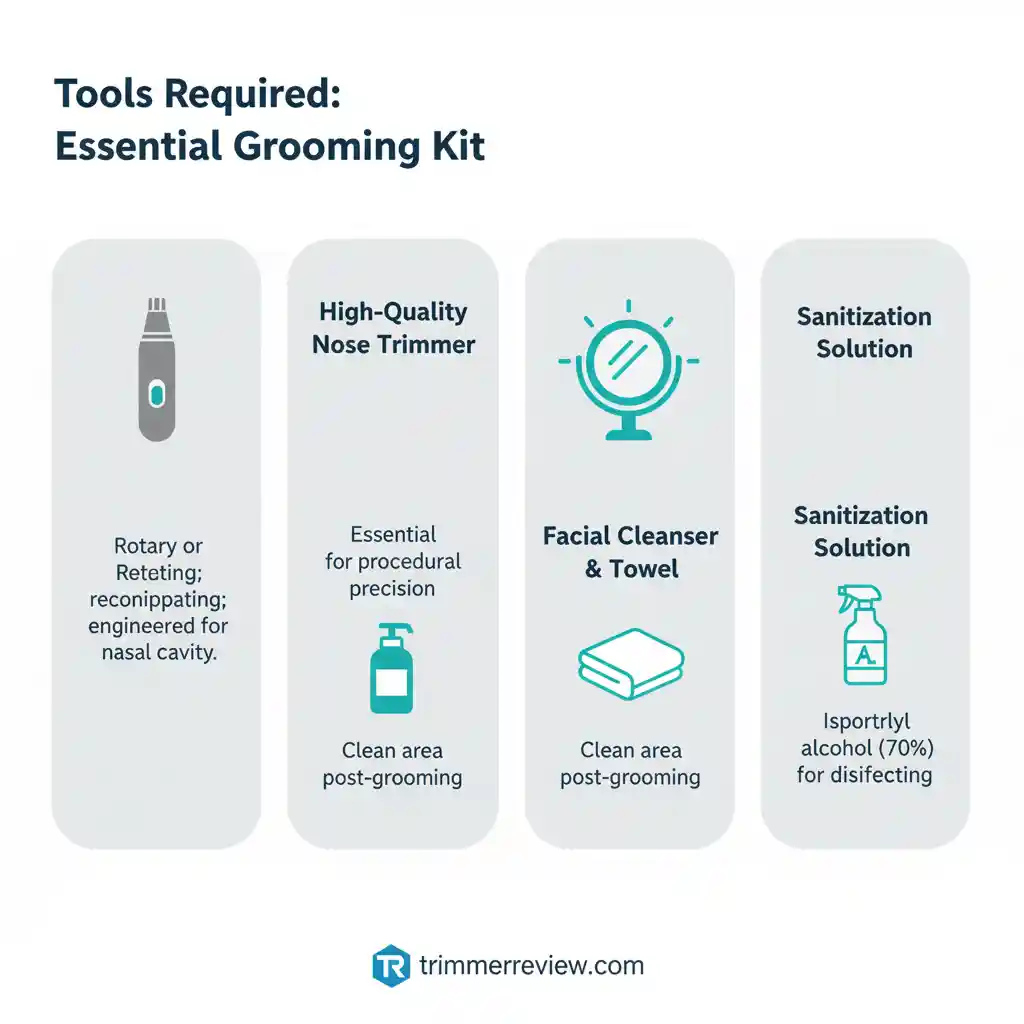
Tools Required
Here’s your content rewritten into clean, human-friendly bullet points:
- Make sure everything is ready before you start trimming
- Use a good-quality nose trimmer designed for safe use
- Keep a well-lit mirror so you can see clearly
- Have a face wash and a towel ready for cleanup afterward
- Keep a sanitizing solution (like 70% isopropyl alcohol) to clean the trimmer head before and after use for better hygiene
Important Safety Protocols
The inside of your nose is very sensitive, so it’s important to be gentle while trimming. Following a few simple safety tips will help you avoid irritation and keep the process comfortable:
- Don’t over-trim: Only remove the hair you can see. Nose hair helps filter dust and allergens, so trimming too much can cause irritation. You can learn more about this from health guidelines on nasal function.
- Check the battery: If the trimmer is low on power, it may pull hair instead of cutting it smoothly, which can feel uncomfortable.
- Keep it clean: Always clean and disinfect the trimmer head before and after use to maintain hygiene and prevent infections.
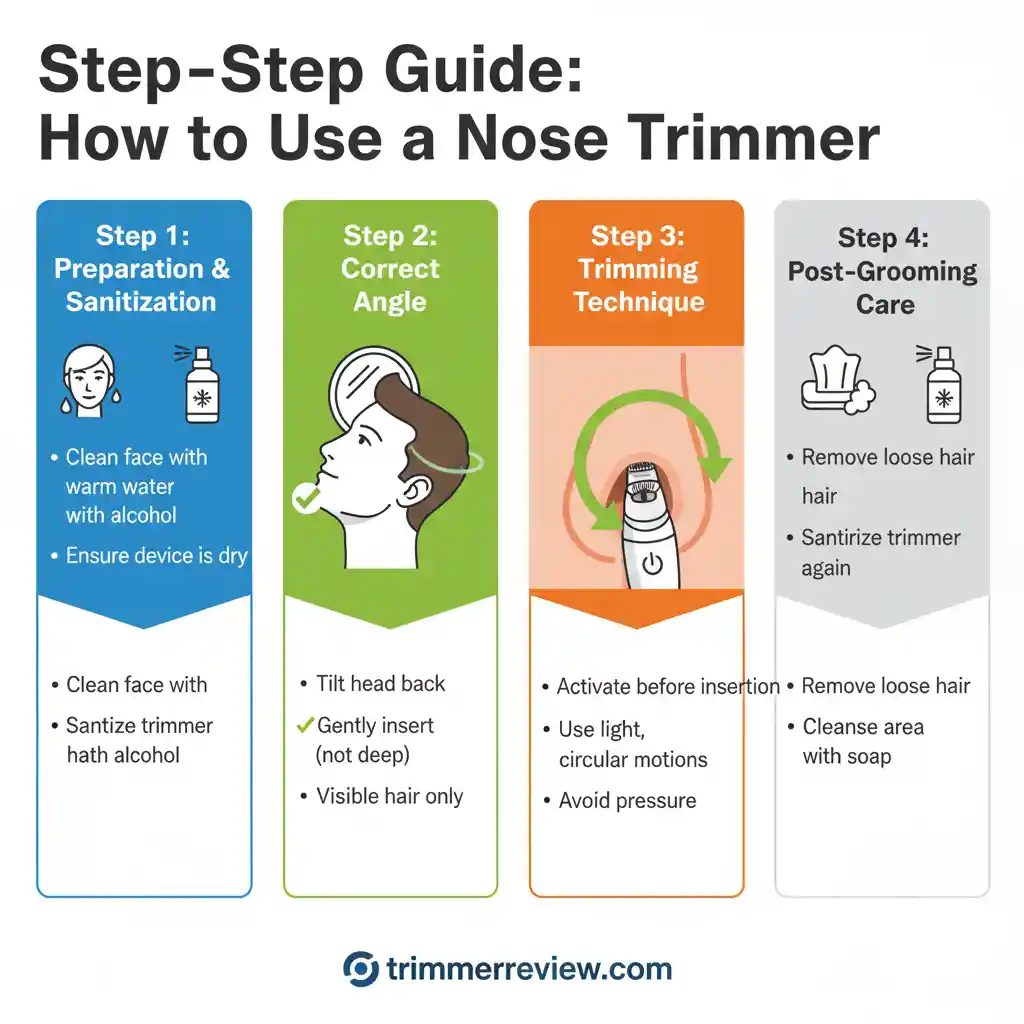
Step-by-Step Guide: How to Use a Nose Trimmer
Irritation usually happens when you move the trimmer too fast or push it too deep inside your nose, so always go slow and be gentle.
Step 1: Preparation and Sanitization
Start by washing your face with warm water to soften the hair. Make sure the trimmer head is clean and dry before you use it. A clean trimmer helps avoid irritation and keeps things hygienic.
Step 2: Finding the Correct Angle
Stand in front of a well-lit mirror so you can see clearly. Tilt your head back slightly to view the inside of your nostrils. Gently place the trimmer at the entrance—don’t push it too far inside.
Step 3: The Trimming Technique
Turn on the trimmer before using it. Move it in small, gentle circles around the edges of your nostril. Focus only on the visible hair and don’t press the trimmer against your skin to avoid discomfort.
Step 4: Post-Grooming Care
Once you’re done, wipe away any loose hair with a soft tissue. Wash the area with mild soap and water. Finally, clean the trimmer head again so it stays hygienic and works properly next time.
Visual Guide: Official Demonstration
Here is an official Philips demonstration video showing the safe trimming technique:
Video Credit: Philips Official YouTube. This visual demonstration complements the steps mentioned above for a better understanding of the circular motion technique.
Quick Troubleshooting Table
If the trimmer does not perform correctly during operation, the following troubleshooting guide can help identify the most common issues.
| Symptom | Probable Cause | Action |
|---|---|---|
| Pulling Sensation | Low battery or dull blades | Charge the device or replace the cutting head |
| Nasal Irritation | Over-trimming or excessive pressure | Apply a light moisturizer; reduce trimming frequency |
| Device Stalling | Hair debris build-up | Disassemble and clear the motor housing |
Common Mistakes to Avoid
Even if you know how to use a nose trimmer, it’s easy to make small mistakes that can cause irritation or affect how well the trimmer works. Being aware of these common mistakes helps you stay comfortable and also keeps your trimmer working properly for longer. By avoiding them, you can keep your grooming routine quick, clean, and hassle-free.
| Trimming Wet Hair | It is best to trim when nasal hair is dry, as wet hair can clump together. |
| Sharing Devices | For hygiene reasons, sharing a personal nose trimmer with others is not recommended. |
| Over-Trimming | Only a few seconds per nostril are sufficient. Removing too much hair can reduce the nose’s natural filtering ability. |
Conclusion: Is a Nose Trimmer Worth It Today?
Learning how to use a nose trimmer properly makes grooming quick and easy. Instead of trimming too deep, just focus on removing the visible hair to stay neat and comfortable. Keeping both your nose area and the trimmer clean will help you get better results every time.
Related Guides & Expert Resources
If you want to understand your trimmer better and keep it working smoothly, these guides can help. They explain how different nose trimmers perform, how reliable they are, and how they compare with each other in simple terms. You’ll also learn about things like cutting quality, build, and long-term use—so you can choose the right trimmer and take proper care of it without any confusion.
- Philips NT3650/16 Performance Review (2026): An empirical assessment of motor torque, blade geometry, and long-term durability metrics for the Series 3000 platform.
- Comparative Technical Analysis: Philips NT3650/16 vs. Norelco NT3600: A detailed breakdown of internal drive architectures, cutting precision, and material specifications between these regional variants.
- Engineering Comparison: Philips Series 3000 vs. Series 5000 Trimmers: An objective evaluation of power management systems, housing ergonomics, and cutting head oscillation frequencies.
- Note: Hardware specifications aside, mastering the right technique is essential for a safe grooming experience. If you are new to these tools, our comprehensive [trimmer uses guide] explains how to navigate sensitive areas without causing skin irritation or nicks.
FAQs: Common Questions on How to Use a Nose Trimmer
When learning how to use a nose trimmer, it’s normal to have a few questions about safety, comfort, and how often to use it. Here are some simple answers to the most common concerns to help you trim safely and comfortably:
How often should you use a nose trimmer?
Most people only need to trim once every 1–2 weeks. It really depends on how fast your hair grows.
Can you use a nose trimmer for ear hair?
Yes, most nose trimmers are designed to work for both nose and ear hair, so you can safely use the same device.
Is using a nose trimmer painful?
No, it shouldn’t hurt if you’re using it properly. If you feel any pulling, it usually means the battery is low or the blades need attention.
Transparency & Fact-Checking
For full transparency and product information verification details, refer to the Disclaimer & Fact-Checking Policy.